Installing drip irrigation
Drip irrigation systems are ideal for desert plants because they apply water slowly and deeply to a plant's root zone, which allows dry desert soil time to absorb water that would otherwise evaporate or run off.
At least three days before you do any digging, remember to "Call Before You Dig" by dialing 811 to check for any buried utility lines.
Drip irrigation components
With the many different components that make up a drip irrigation system, it's easy to feel overwhelmed. First, familiarize yourself with all the parts of the system.
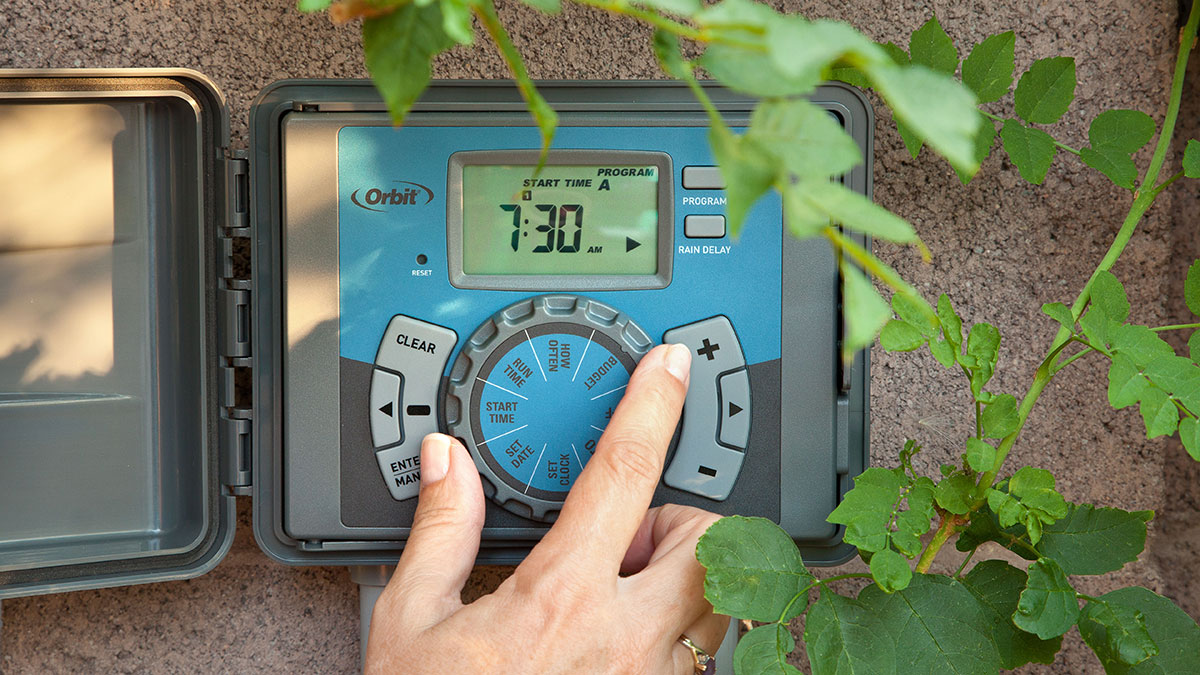

Irrigation clock
The irrigation clock serves as a "brain," regulating watering. This device can be programmed to run your system automatically and is wired to the electrically operated valves. We offer a rebate for smart irrigation clocks that automatically adjust your watering according to the weather.
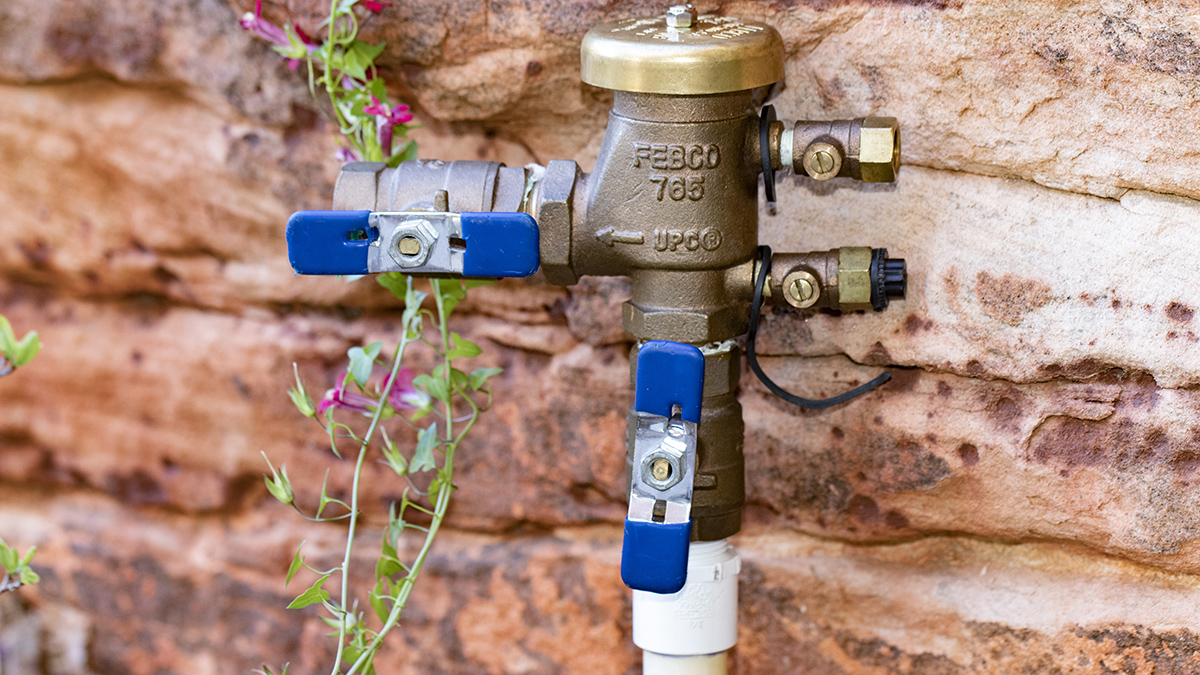
Backflow prevention device
The backflow prevention device is a valve that prevents irrigation water from flowing back into your home's drinking-water supply. This device is critical for health and safety and must be included in any irrigation system. Local codes require the installation of a pressure vacuum breaker (PVB), a backflow prevention device that is easily tested and can accomodate multiple irrigation valves. A freeze-proof model is recommended.
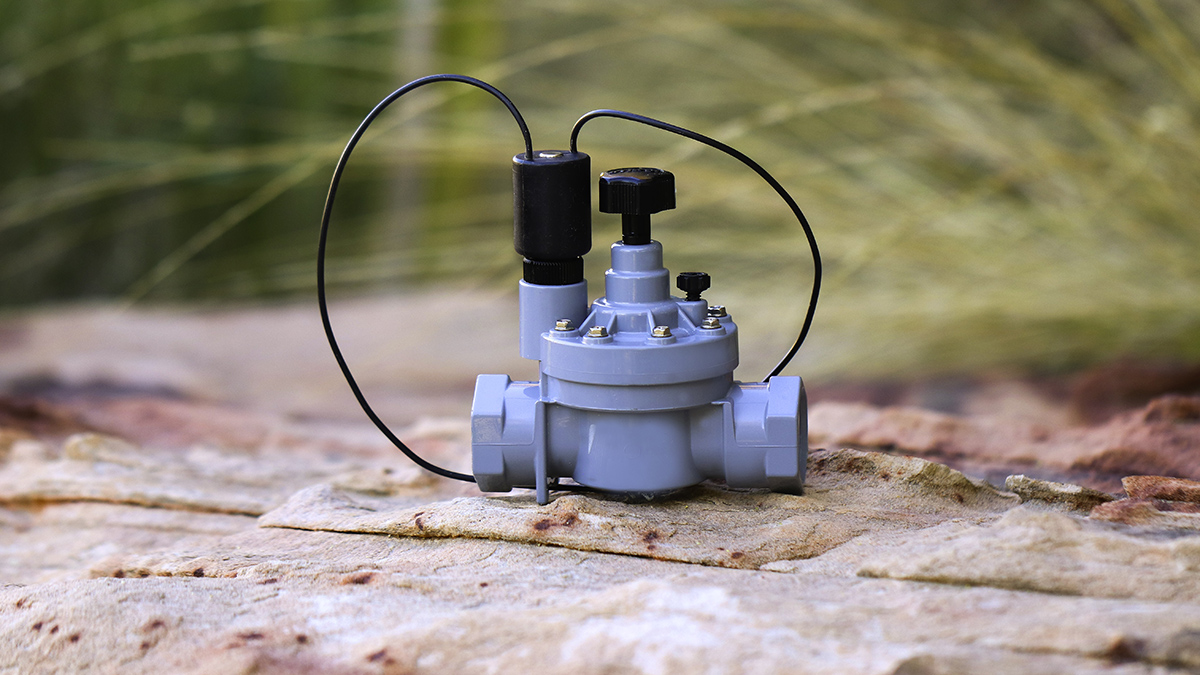
Electric control valve
The electric control valve is an automatic valve that controls the flow of water to the irrigation lines. It is wired to your irrigation clock and opens and closes according to your clock's programmed schedule.
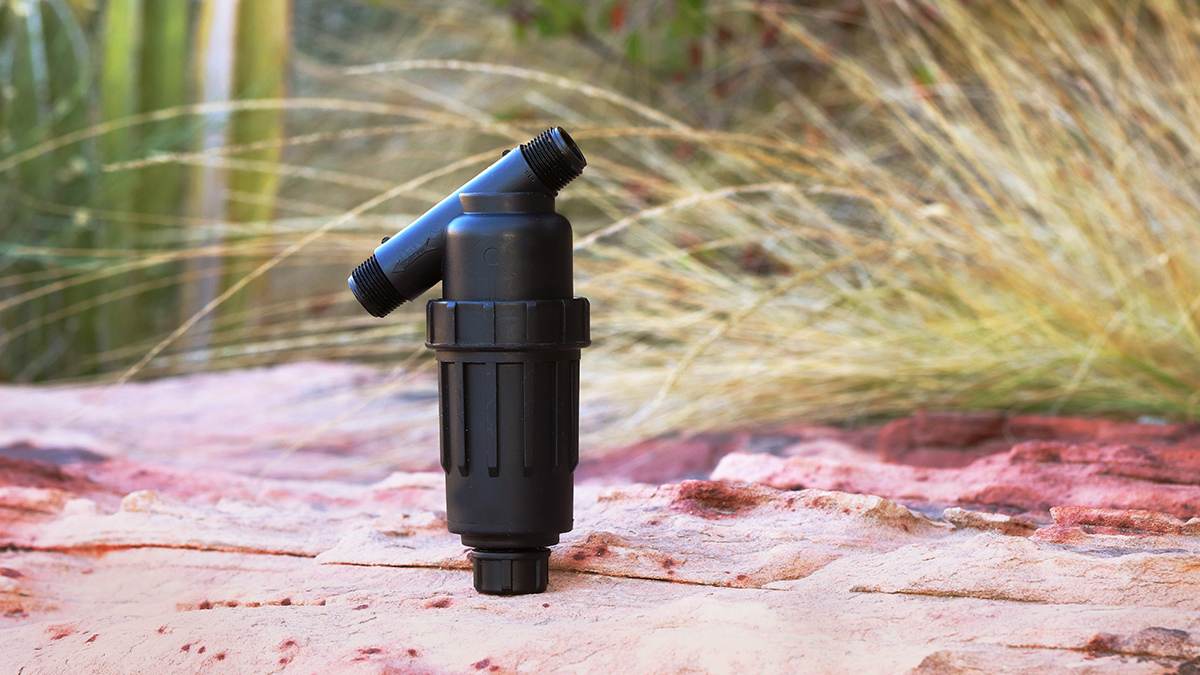
Filter
A filter must be installed after the control valve to trap any particles in the water that may clog the drip emitters. At least a 150 mesh filter is recommended.
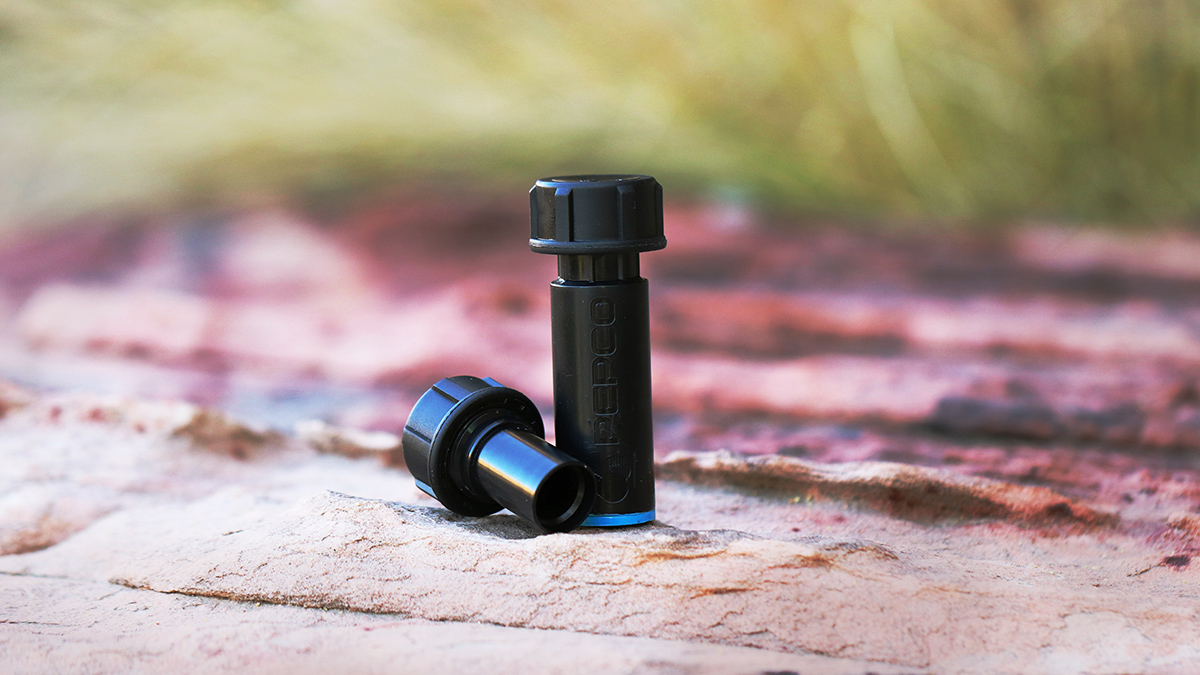
Pressure regulator
A pressure regulator is a required component that reduces pressure to the lowest level required for drip systems, usually about 20–30 pounds per square inch (PSI).
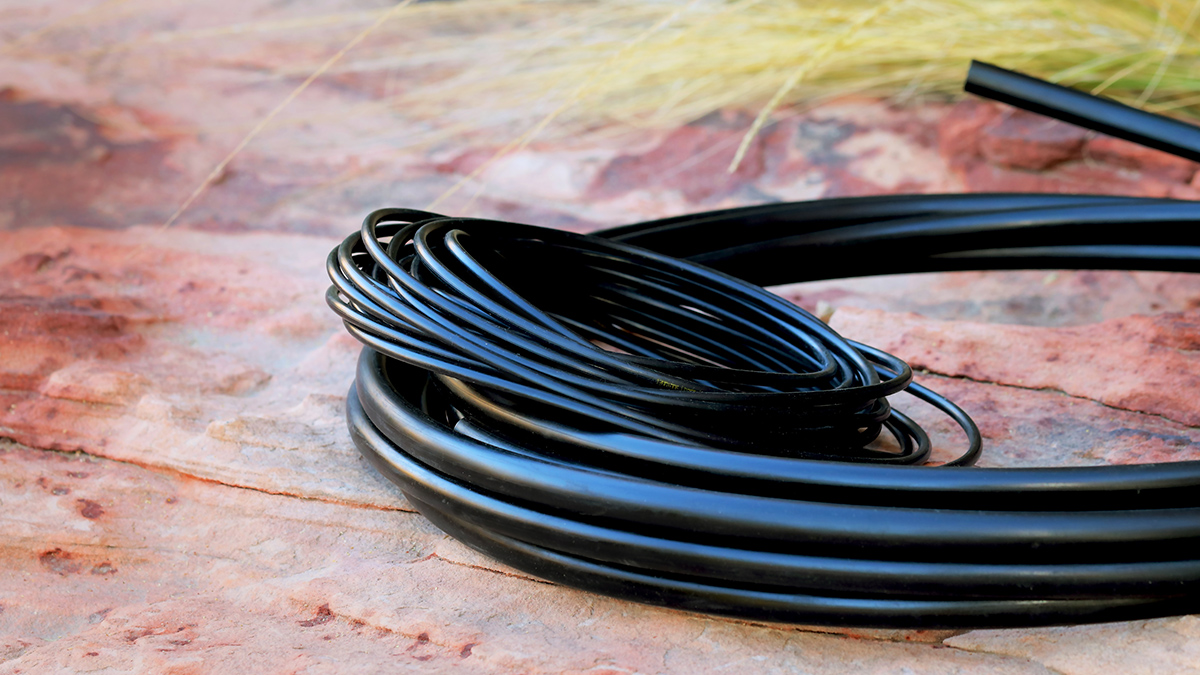
Pipes and tubing
The pipes and tubing of an irrigation system carry water throughout the system. Pipes are generally either hard, white polyvinyl chloride (PVC) pipe or a black, flexible polyethylene pipe (PE). Drip systems use mostly PE but will include some PVC at strategic points.
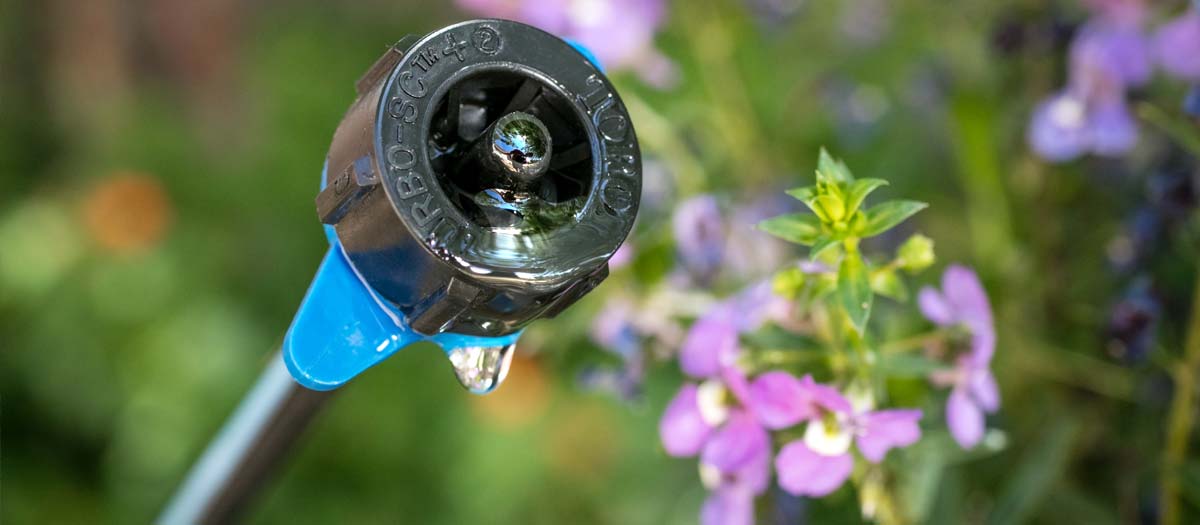
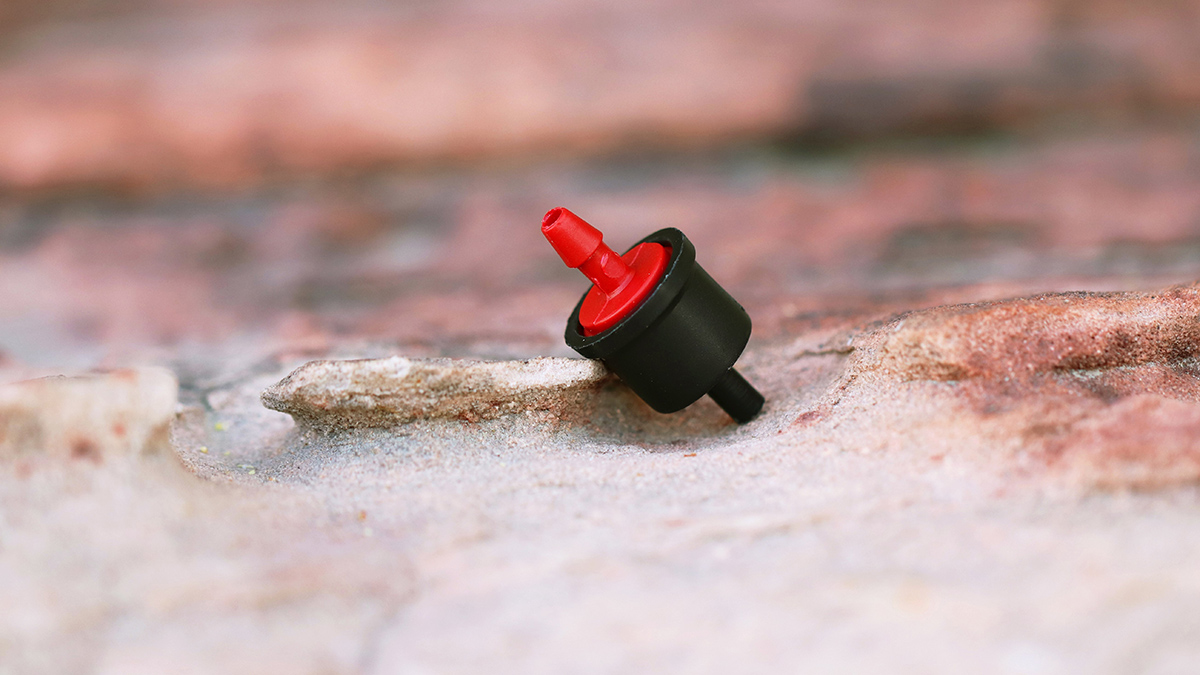
Emitter
The emitter delivers water directly to the plants. Many different types of emitters can be used, including single-point emitters, multiple-outlet emitters and inline drip emitters (emitters and piping combined in one continual piece). Pressure-compensating emitters are suggested as they control water for even application on long rows or uneven slopes. Emitter flow rates range from .5 gallons per hour (GPH) to 20 GPH and cannot flow higher than 20 GPH.
End/flush cap
The end or flush cap is attached at the end of an irrigation line so the system can be flushed clean of any accumulating debris.
Installation
The process of installing an irrigation system can be broken down into these eight steps:
1. Backflow prevention assembly
City codes require that a backflow prevention assembly must be included in your irrigation system. The backflow prevention device stops irrigation water that potentially carries chemicals such as fertilizer or weed killers from flowing backward into your home's drinking water. While home builders in Southern Nevada typically install a pressure vacuum valve (PVB) during construction, changes to your landscape may require moving it to a higher elevation or new location. A plumbing permit, which is obtainable through the city or county, is required for installation. Call before installation to get clear code requirements.
If a new backflow prevention assembly or moving the assembly is required, determine a location for placement. The most common type used on homes in Southern Nevada is called a pressure vacuum breaker (PVB). It should be at least 12 inches above the highest irrigation device and 12 inches away from any walls to allow for access. If you have a large hill with irrigation on your property, the PVB should be installed higher than the hill, or you can install an additional PVB at that location.
2. Valve box
The valve box is buried underground and protects the valves, filter and pressure regulator. To install the valve box, follow these steps:
- Wet the ground to soften for digging.
- Dig a well for the underground valve box and a trench six to eight inches deep leading from the PVB to where you will install the box. The well should be deep enough for the box to sit about two inches above grade when inserted, making it level with the landscape once inserted.
- Fill the bottom of your well with one to two inches of gravel to aid drainage.
- Schedule 40 PVC pipe should be laid in the trench out to the location where your valve boxes will be situated. There may be more than one location, such as the front yard and backyard, but keep the valves close to each other.
- Place valves in the ground and connect them. Valve assemblies should have enough room around them to allow access for maintenance. Put a maximum of three valve assemblies in one box. Mark each valve assembly with paint color-coded to match your irrigation lines, so you know where each assembly provides water.
- After the valves are installed, attach a filter and pressure regulator to each assembly. Position the filter so you can remove the cap and the filter easily as it will need to be flushed periodically. The pressure regulator can be placed outside the valve box if necessary because there is no maintenance involved.
- Place the box over the valves. It may be necessary to cut holes in the sides of the box for the pipe to exit in the correct spot. Level the valve box by placing bricks or blocks underneath.
- Wrap the open areas around the exiting pipes with fabric or tape to keep soil from entering the box. Replace soil around the outside edges of the box, but don't fill in your trench as you'll use it to run wires to your irrigation clock later.
3. Trench digging
Start by digging trenches from your valves and run them everywhere you plan to lay pipe and/or tubing. PVC pipe needs to be at least 12 inches deep, while the poly tubing used for drip irrigation only needs to be six inches deep. Digging trenches is hard work, so make the most of them by using the same trench for different landscaping needs. Irrigation and lighting wires can be run in the same trench. Trenchers are available at equipment rental stores, but you will still need to do some trenching by hand around corners, in small areas and around tree roots.
4. Pipes and tubing
Your landscape irrigation system will use two types of pipes, PVC pipe and PE tubing (poly-tubing). To install pipes and tubing, follow the steps below:
- Run Schedule PVC from the mainline to the backflow prevention assembly and from the assembly to the valves.
- After the valves, use PVC for above-ground irrigation such as spray heads and rotors.
- Run half-inch PE for drip irrigation. Snake the tubing across the landscape to within a couple feet from the planting areas. Leave this tubing exposed until the plants are in place. Don't run half-inch tubing more than 200 feet or you will lose water pressure.
- If you need to connect multiple sections of tubing, you can use compression fittings.
- At the end of the tubing, attach a flush end cap. Be sure to mark the location of the end or put it in a small valve box for easy access later.
- After the plants are in place, attach microtubing and emitters to bring water to them.
5. Irrigation clock
The irrigation clock tells the irrigation system when to come on and how long to run. Most irrigation clocks are found in the garage, but they can be installed almost anywhere and come in both indoor and outdoor models.
We offer a rebate for smart irrigation clocks that automatically adjust your watering according to the weather.
6. Connecting clock to valves
Using the trenches dug for your pipes and tubing, you will run wire from the clock to the valves. Irrigation wire comes with one white wire and multiple colored wires. The white wire is the common wire and attaches to every valve in your landscape. The colored wires are specific to each valve. Attach the colored wires to your clock in individually numbered terminals. After attaching, protect the connections with waterproof wire caps.
7. Emitters and microtubing
Microtubing and emitters connect to half-inch poly tubing. Run microtubing no longer than 15 feet, and attach an emitter to the end of the microtubing.
Place your emitters further apart if you have hard clay soil. Because water moves to the roots much slower in hard clay soil, a slow flow rate such as .5, 1 or 2 GPH (gallons per hour) should be used. Sandy soil is the opposite and emitters with higher flow rates could be used (4 GPH to 20 GPH).
Now is the time to decide if you want to place the emitters for each plant in anticipation of its future size or if you'll add emitters as the plant grows.
Installing tree irrigation: Trees require water in a larger area to allow the roots to spread out and provide a sturdy base for the tree. Young trees need enough drip emitters to cover the canopy from the tree trunk out to the ends of the branches. Mature trees should have enough drip emitters surrounding it that 50 to 75 percent of the tree's canopy area should be wet.
8. Backfill
Backfilling is the process of refilling all your trenches with soil again, covering all of your pipes, tubing and wires. Before you replace the dirt, screen the soil to remove large pieces. The dirt may contain rocks and other materials that can damage your tubing.
Drip irrigation 101
Whether you're a DIY enthusiast or overseeing the project, we've got you covered with essential tidbits to ensure optimal drip irrigation system performance.
Trade in your old controller
Replace your old irrigation controller with a smart clock! Smart irrigation clocks automatically adjust your watering according to the weather and many provide convenient access via mobile applications.
Investing in a smart irrigation controller is now easier than ever, thanks to our rebate, which offers 50 percent off the purchase price or up to $100, whichever is less.
Attend a free drip irrigation class
Drip irrigation is the water-smart way to ensure healthy, happy plants! In our free classes, we'll show you how to design and install a drip irrigation system.
Learn how to select and assemble components and build a drip-system model right in the classroom!